Clark Ashton Smith Gallery
Page 2 of 5

Old Man Smith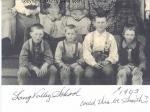
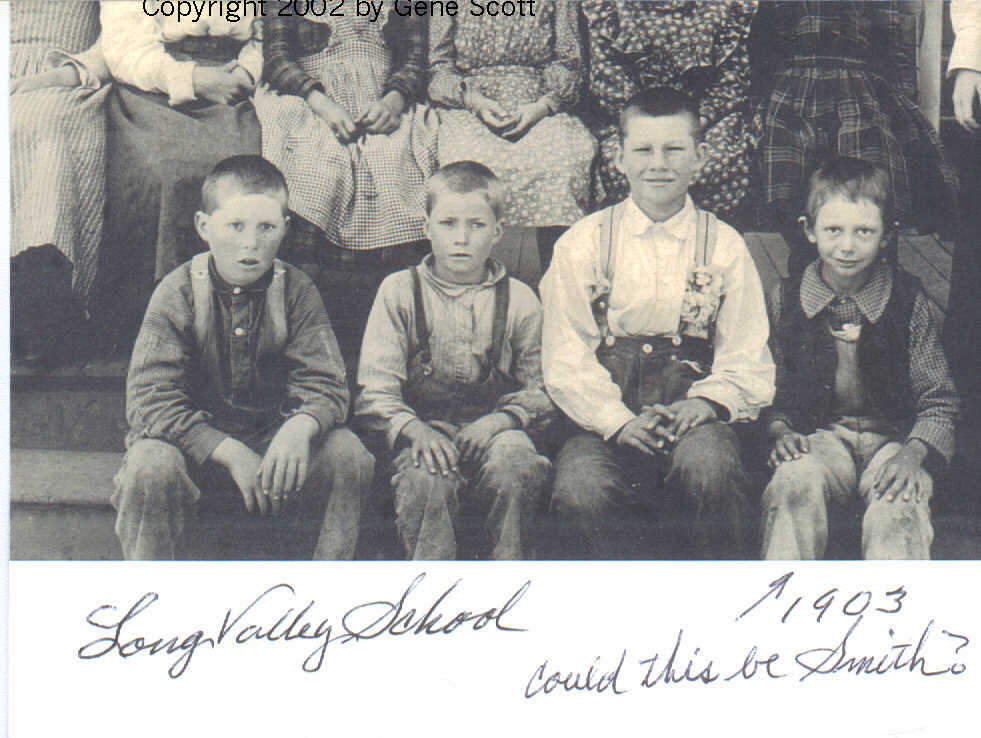
1903 Long Valley school photo.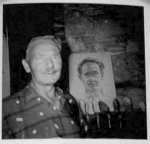
Photograph of Clark Ashton Smith
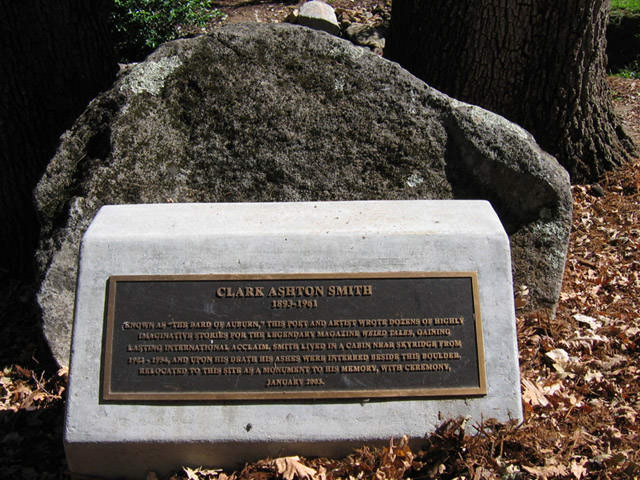
Clark Ashton Smith Memorial Plaque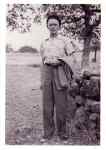
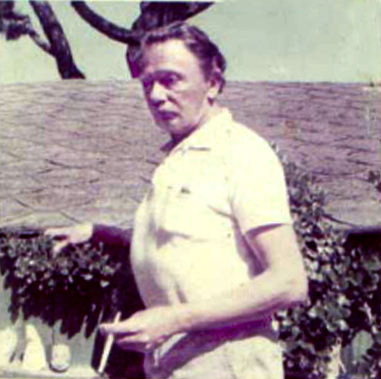
Photograph of Clark Ashton Smith
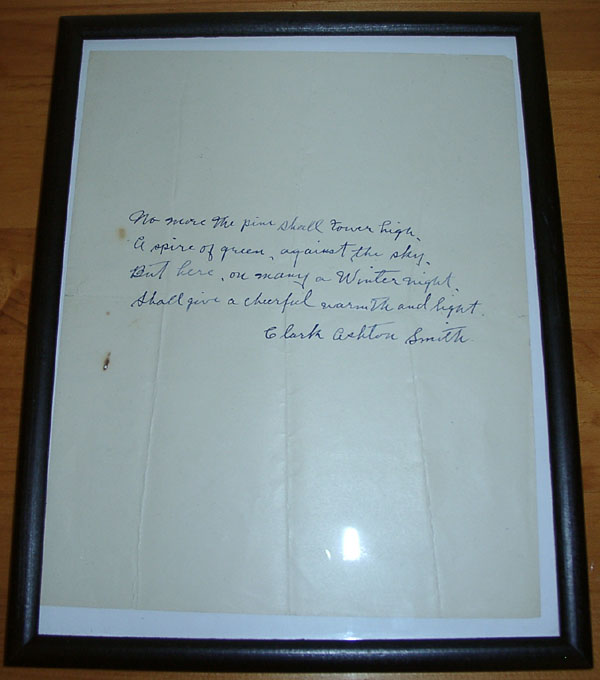
No More the Pine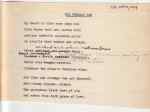
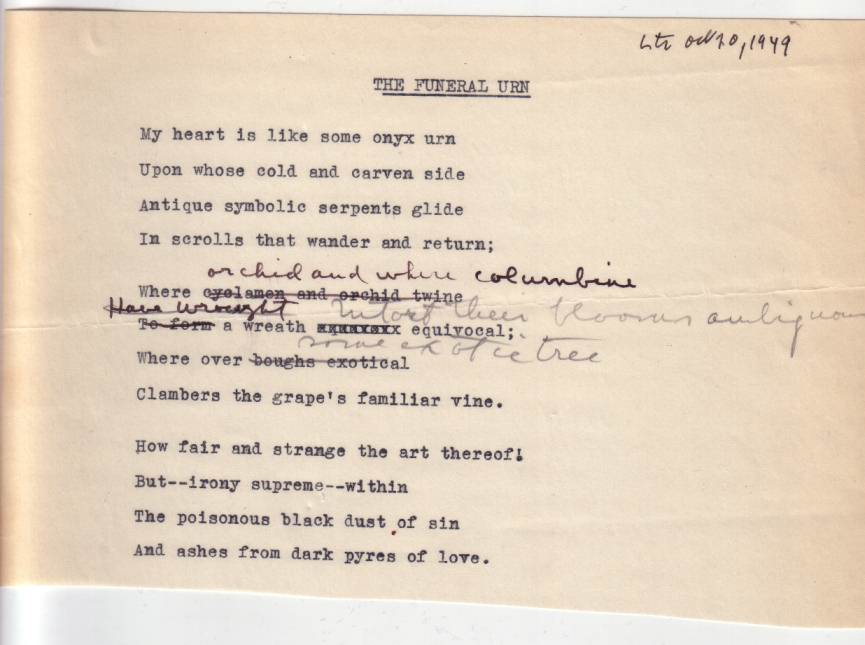
The Funeral Urn
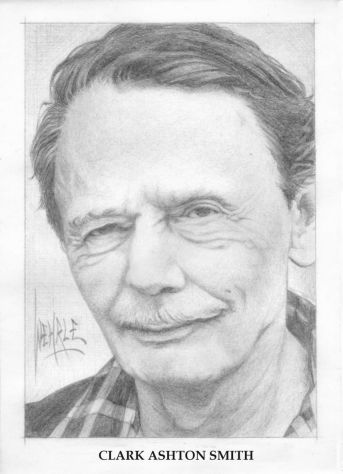
Clark Ashton Smith Pencil Portrait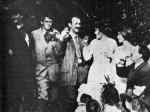
Clark Ashton Smith visits George Sterling in
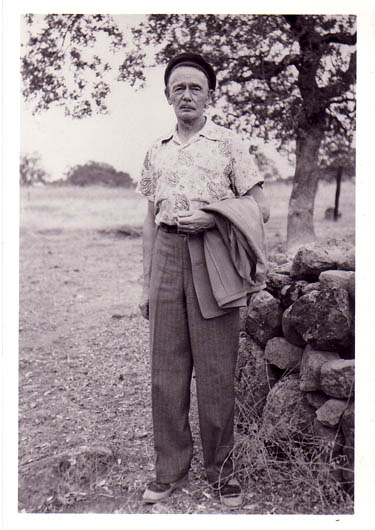
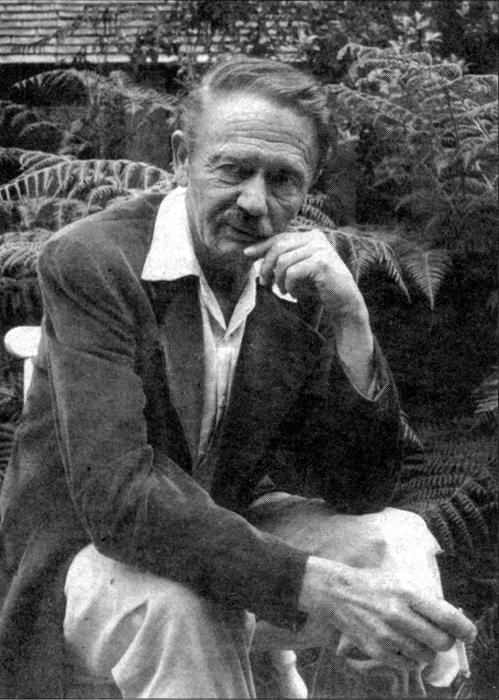
Clark Ashton Smith 1958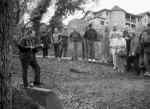
Clark Ashton Smith Ceremony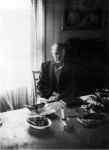
Clark Ashton Smith