Clark Ashton Smith Gallery
Page 3 of 5
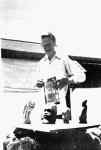
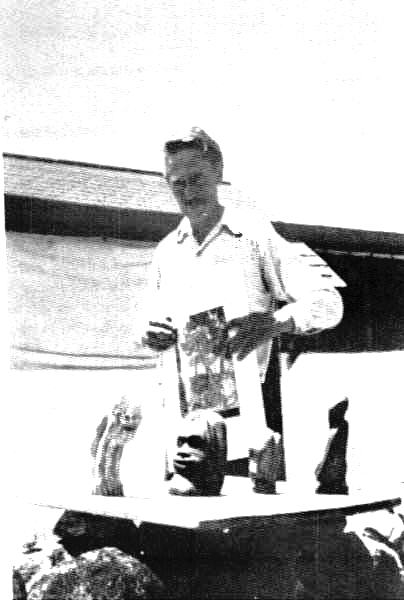
Clark Ashton Smith with some of his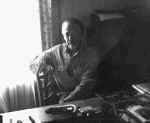
Photo of Clark Ashton Smith
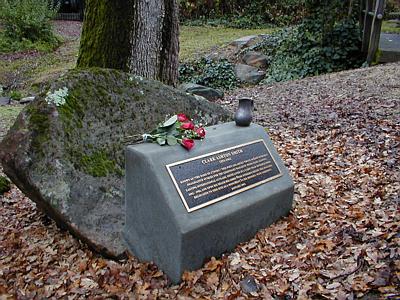
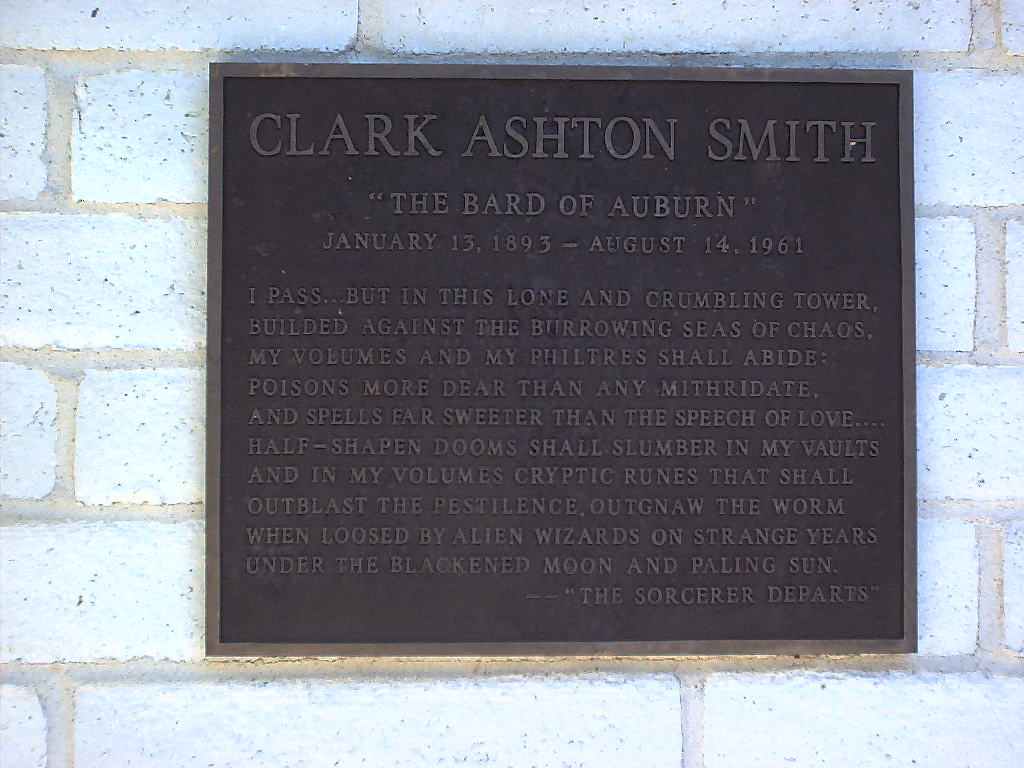
Clark Ashton Smith Memorial Plaque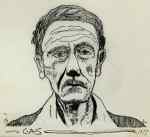
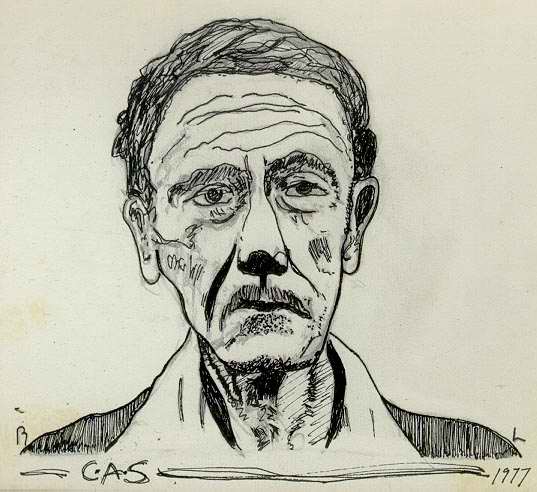
Original pen & ink portrait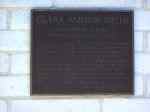
Clark Ashton Smith bronze plack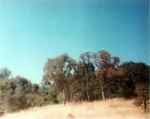
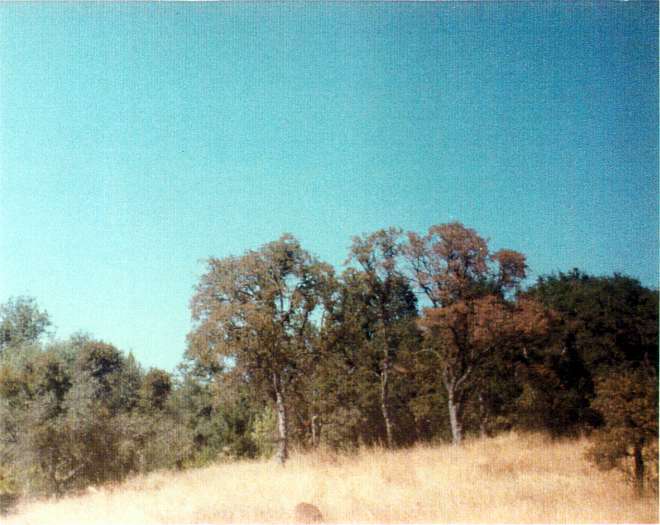
Site of Smith's Cabin
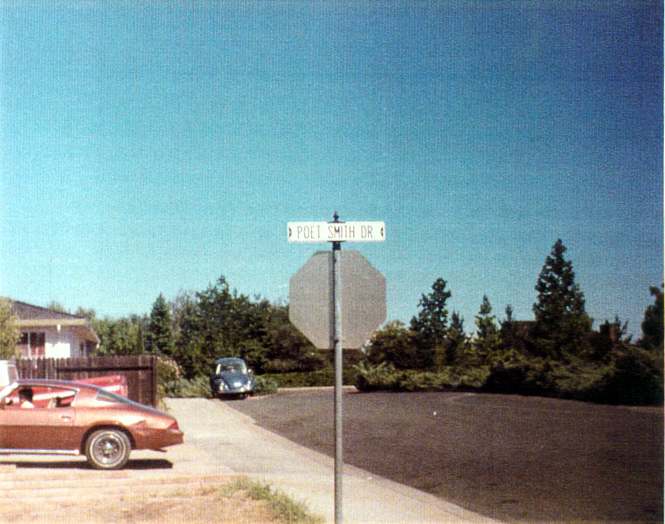
Poet Smith Dr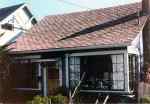
Smith's Last Home
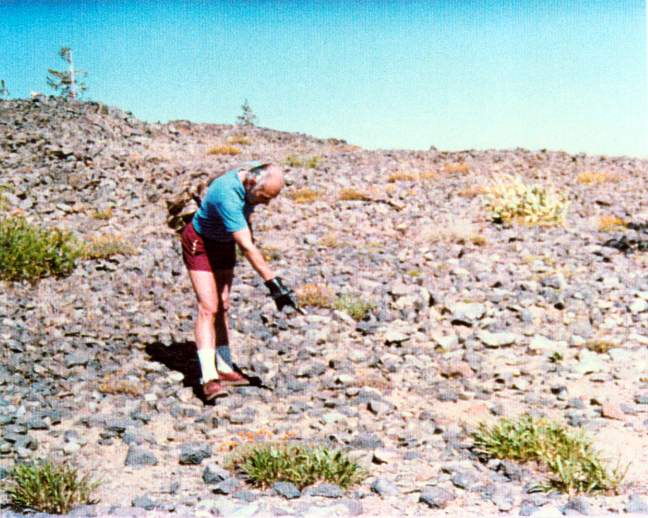
Donald Sidney-Fryer on Carter Ridge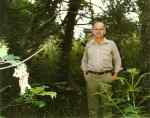
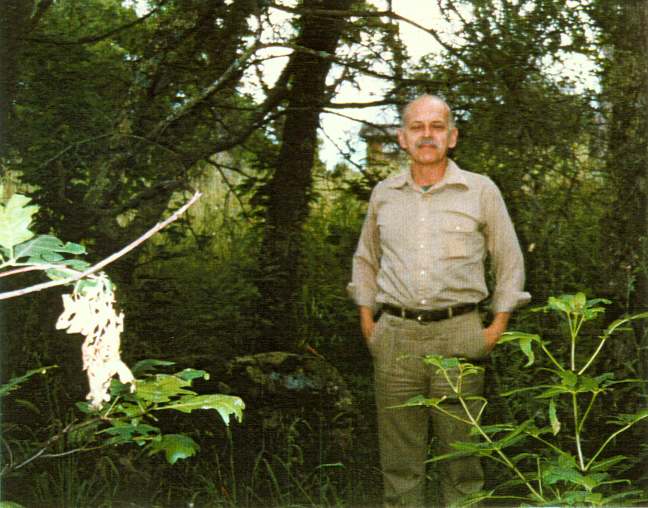
Donald Sidney-Fryer ...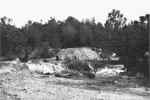
Kilaga Mine and Tailing Pipe
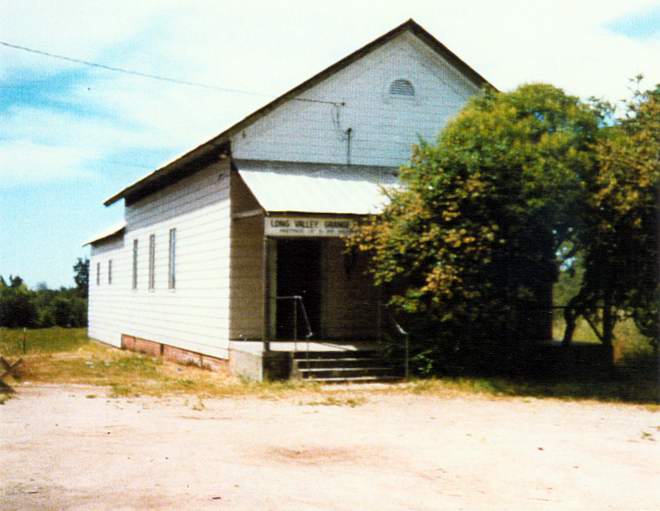
School House